How to Apply for Chile’s Temporary Resident Visa
Everything in this blog is based on personal experience and as of December 2020. Requirements are subject to change.
I am an ESL teacher, and this is my second time returning to Chile. Since I lived there before under this visa, I can renew my visa in the country. But, I have decided to do it from my home country as the renewing process in-country is long.
If you are looking to work in Chile, you will likely have to get a Temporary Resident Visa (Visa de Residente Temporario). This visa will allow you to live and work in Chile for a year. Here is how to apply for a Temporary Resident Visa in Chile.
What to do first in the visa process?
After an employer hires you and issues you your contract, you need to begin acquiring some of the documents for your visa application immediately.
The first step is to email or call your nearest consulate and ask them for the visa requirements and pricing. Once you receive the information, pay close attention to the timeline. You have to apply no less than 90 days of your departure, and obtaining some of the documents will require additional time, so get that calendar out and plan accordingly. My closest consulate is in NYC, and I emailed cgchileny.visas@minrel.gob.cl. Here are direct links to the consulate websites in other cities.
The documents you need.
- Contract
- Proof of Bank Solvency
- Passport photo
- Health Insurance
- Medical Letter
- Diploma with Apostille
- FBI ground Check with Apostille
Contract: Your employer in Chile will provide the contract.
Bank statement you can download from your bank to prove you have financial funds to support yourself.
Health insurance has to cover you for the full year of your visa. If your health insurance in your home country covers you overseas, then you can use that, but you will most likely have to purchase supplemental travel insurance for the year.
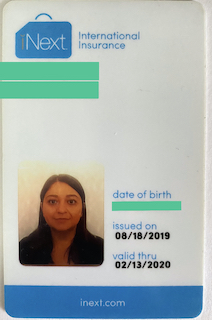
Most travel insurance now covers COVID-19 cost. The insurance companies I’ve used are iNext and World Nomads. Although I had travel insurance, I have been lucky thus far (knock on wood) not to use it. iNext is the most recent insurance I’ve had and what I liked is they provided an insurance card like the one below. It’s nice to carry it with you rather than remembering ID numbers. I recommend doing your research and picking the best plan for you and your budget.
Cost: It can range from $800-1,000USD for the year, depending on the plan and company you purchase from.
Medical Letter is from your primary doctor stating you are in good health. It has to be obtained from the last 30 days before applying for your visa but verify with your consulate they might accept one from the same year as you apply.
The Headache: Diploma and FBI Background Check with Apostille.
What is an Apostille?
An apostille, still not exactly sure how you pronounce it, but if you figure it out let me know, is the legalization of a document certifying its authentication for international use. If you are working or living overseas, this might be a familiar term.
For the Visa Resident Temporario, you will need two Apostilles, one for your diploma and one for your FBI Background check. If you do a quick search, you will get many third party options that will do the process for you, and their pricing ranges from $80-400 USD per document. Crazy, I know. Estoy siendo seria.
Acquiring the apostilles will take additional time. Make sure to time it accordingly. Due to the pandemic, the time is longer than average for the Apostille.
Diploma with Apostille
After I got over the initial shock of the cost and momentary panic I had, I pulled myself together and emailed my alma mater and asked for guidance in the Apostille process. To my surprise, they do it for you and at a much lower cost. They sent me a document guiding me through all the documents I needed to provide my university with.
I sent a copy of my diploma, transcript request form, a written letter requesting an apostille, and money orders.
Cost: ~$26 USD
Turnaround: ~ 4 weeks
FBI Background Check with Apostille.
First step: Obtain your FBI Background Check.
There are a few ways to get it. You can either apply directly with the FBI or through an FBI-approved Channeler, for the quickest turnaround.
The first time I got my FBI Background for my first visa I went to my local police station, got my fingerprints printed on the cards, and then I sent them to an FBI Channeler, National Credit Reporting, as a result of the extra step this process takes about a week.
The second time, depending on the FBI Channeler you are using, they have live scan locations. You can get your fingerprints scanned and sent in, and you will receive your FBI Background check via email the same day or the next day. I used Accurate Biometrics and went to their livescan location listed on their website. Now that an apostille is required, I recommend this option.
Cost: Will vary. I paid $100 USD. This included the fingerprinting, digital copy, and a hard copy I received in the mail.
Second step: Get the Apostille.
This process usually takes about 5-10 days, but due to the pandemic, the turnaround time is about two months.
You can apply directly to the FBI here, or you can go through a third party. I researched, emailed, and spoke to various third parties. I decided for myself and peace of mind to go through a third party; Southeast Spanish, Inc. This is more costly than sending your application and FBI Background Check directly to the FBI, but reading Southeast Spanish, Inc reviews, and emailing with Dan I felt I was in good hands. Choose what works for you, your budget, timeframe, and peace of mind.
Cost: Varies but I paid $88 USD
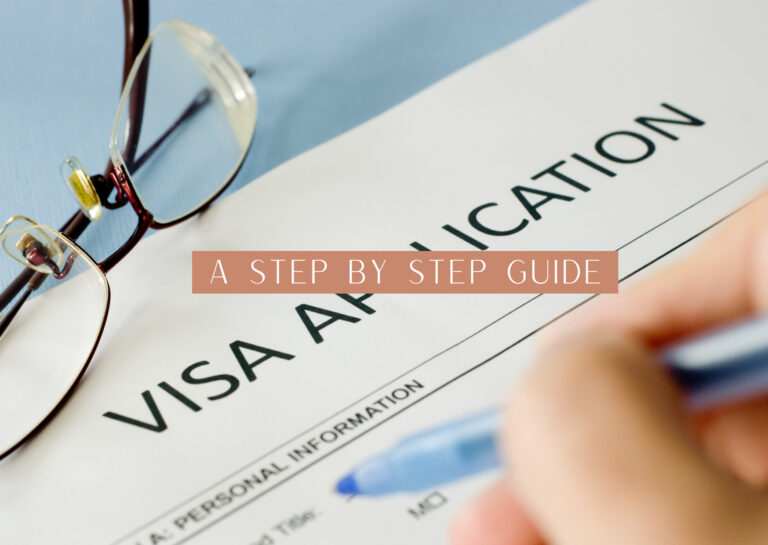
Applying to the Visa Residente Temporario.
Now it’s time to apply for the visa! Yes, all of that was getting the documents you need. The application is online and straight forward. You will have to fill out your personal information, answer questions, and upload all the required documents. Moreover, that is why you must have all your documents scanned and ready to upload.
Once you complete and submit the application, you wait. The first time I applied for my visa, it took about ~30 days, but it can vary. I’ve had friends who applied and received their visa within a week. Once your visa is ready, you will receive an email from the consulate, letting you know when to pick it up and bring a money order as payment.
The cost of the visa as of December 2020, not the documents needed for the application, is $470.
Tips from lessons learned.
Here are some tips so you can avoid the mistakes I made.
- Email your consulate immediately.
- Start with the Apostille documents, as they have the longest turnaround time.
- Have all your documents before filling out the online application.
- Some documents will specifically require a money order. Use cash to purchase money orders. You can use debit cards, but you might be charged a small fee from the location you buy the money order. I’ve done this process twice, and I still made the same mistake.
- Make copies of all your documents and bring them with you the day you get your visa. They did not ask me for them, but for good measure, I recommend bringing them.
- Patience. There are frustrations when applying for any visa, and now the pandemic has impacted many institutions and turnaround times. So you will need lots of patience.
Good Luck! Suerte!
I am currently waiting for my apostille documents. I will update as I move along the process.